
Usage
FkeMark is built around one idea: your documents stay in local folders, and the editor only makes Markdown writing, reading, organizing, and publishing easier.
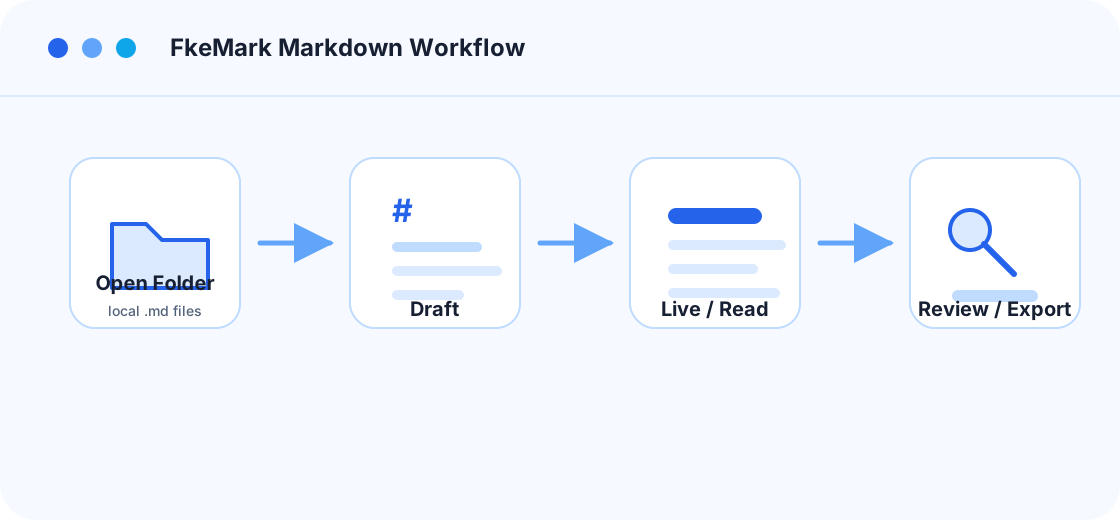
Daily workflow
| Step | Action | Result |
|---|---|---|
| 1 | Open a local folder | The sidebar shows your existing Markdown structure |
| 2 | Create or open a .md file | The file stays plain text |
| 3 | Choose Live / Split / Read / Source | Switch between drafting, side-by-side checks, proofreading, and source control |
| 4 | Insert images, tables, links, or code blocks | Build common Markdown structures quickly |
| 5 | Save, review version history, export, or publish | Continue with local files, snapshots, export formats, or the docs site |
Recommended writing path
- Structure first: write headings, lists, and paragraphs in
SourceorLive. - Fill the content: use the toolbar for links, images, tables, and code blocks.
- Check side by side: use split view for complex tables, formulas, or code blocks.
- Proofread as an article: switch to
Readand review hierarchy and rhythm. - Save reliably: keep Markdown as the primary format; export only for sharing, archive, or migration.
Saving and snapshots
- When saving an existing document, FkeMark keeps a local snapshot before writing the new content.
- To keep a manual checkpoint, click “Create Current Snapshot” in the Version History toolbar menu.
- When comparing a snapshot, use “Previous diff / Next diff” to jump between changed lines.
- If a file changes very frequently, adjust the per-file snapshot limit in “Settings → Behavior”.
Folder organization tips
| Scenario | Suggested folders |
|---|---|
| Project docs | docs/, notes/, changelog/ |
| Study notes | inbox/, reading/, summary/ |
| Blog drafts | drafts/, assets/, published/ |
TIP
Keep images and attachments near the Markdown files that use them. A local assets/ folder is usually enough.